|
| Main Help Index |
Creating Batch Listings
- Choose a site
- Enter listing information
- Preview the listing
- Enter more listings
- Upload the batch
- Check your listings
| STEP 1: Choose a site | |
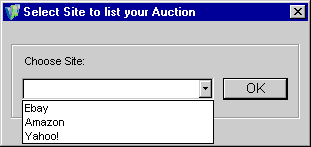
| When you first start Sales Manager Pro, a new, empty batch window is open. A batch is simply a group of listings you want to submit using Vendio. You are asked to choose a site for the first listing in the new batch. Since each site is different, the site you choose determines the questions you will be asked to create the listing.
Important Important: In order to create your listing on a site, you must have a valid username and password for that site. You have to have this username and password in your Vendio preferences so the listings you upload can be submitted to those sites. |
|
| STEP 2: Enter listing information | Back to the top |
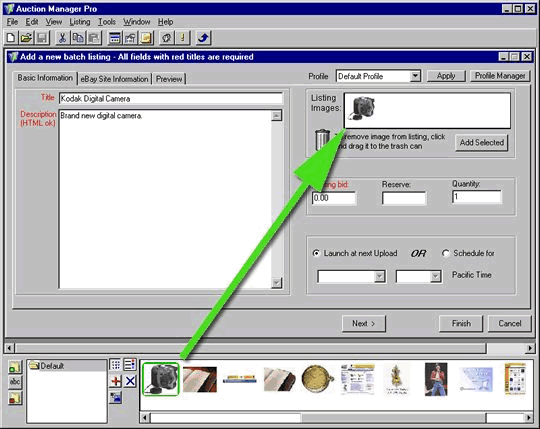
| The Basic Information screen is where you enter a headline for the listing, a description, and images. To add an image to your listing, click on the image in the image bar at the bottom of the screen. Drag the image from the image bar to the Images section of the Basic Information screen. If you don't have any images in the Image Bar, you probably haven't downloaded your images from Vendio. To download your images, click Upload. The image will be included in your listing, but will not be removed from the image bar, so you can use it as many times as you like. You can add as many images as you need by dragging and dropping this way.
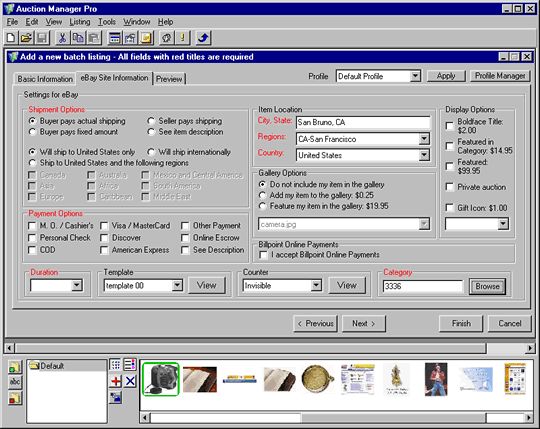
The second tab is for information needed by the specific site you chose. Click on this tab to enter the site-specific information such as payment options and shipping terms. If you set preferences at Vendio, you will see these filled in for your item. Required fields are labeled in red.
|
|
| STEP 3: Preview the listing | Back to the top |
| When you're done entering information for your listing, click the third tab, Preview, to see what your listing will look like on the site. You can go back and change the listing information and these changes are reflected immediately in the Preview window.
|
|
| STEP 4: Enter more listings | Back to the top |
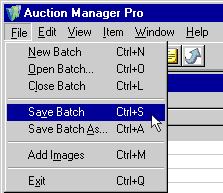
| Enter as many listings as you like to complete the batch. When you're done, save the batch by choosing File > Save Batch. It's a good idea to include the date in the name. For example, you might use CDs41500 for a batch of CDs submitted on April 15th.
|
|
| STEP 5: Upload the batch | Back to the top |
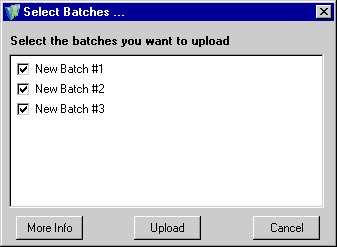
| Click Upload Batch/AuctionSyncTM. You will be asked which batches you wish to upload. Select as many batches as you like. While Sales Manager Pro uploads your batches, it will also download any changes you have made on Vendio, such as adding or deleting images or changing passwords or preferences. Sales Manager Pro also uploads any images you have imported into Sales Manager Pro. For more information on importing images, see How to import images.
|
|
| STEP 6: Check your listings | Back to the top |
| Once your listings have been uploaded, you can check their status by going online. The upload process is complete and you don't need to do anything online. But if you'd like to check, you can go to Vendio. Review your auctions using our online Sales Manager. | |

